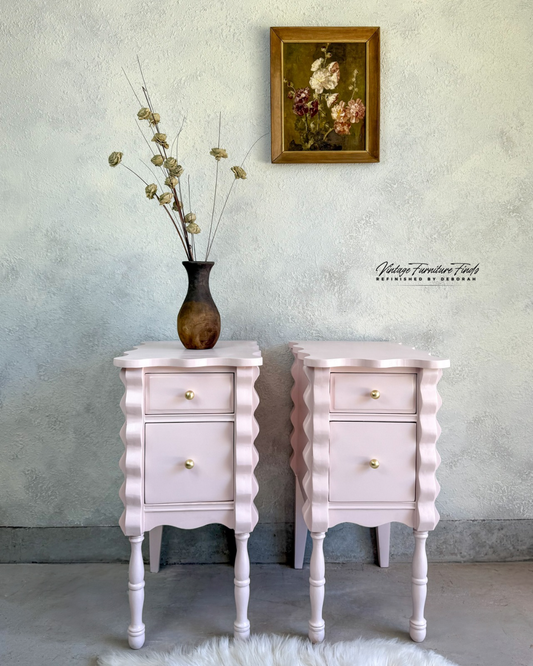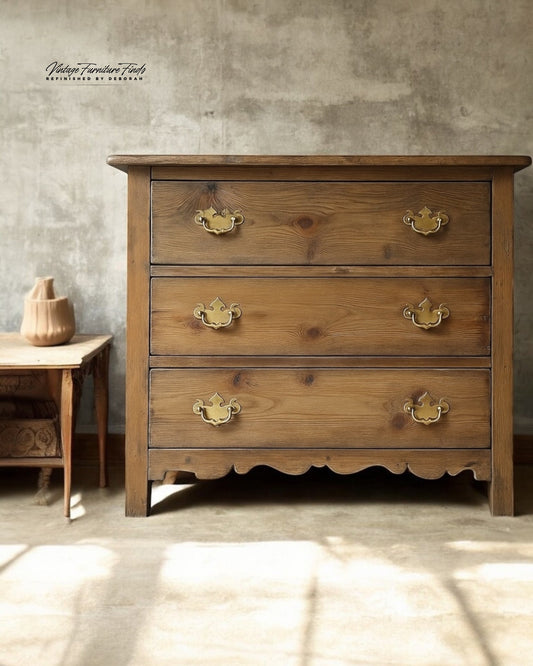
There’s something special about taking a tired, worn-out piece of furniture and giving it new life. This cherry dresser had great bones but needed a refresh—so I gave it a bold, rich makeover using my favorite products and techniques. Here’s how I did it!

Step 1: Softening the Finish
I started by breaking down the existing finish with lacquer thinner. This step helps soften the old finish, making it easier to remove without excessive sanding.

Step 2: Sanding for a Smooth Base
Sanding is key to achieving a flawless wood finish. I began with 80-grit sandpaper and worked my way up to 180-grit, ensuring a smooth surface. For the detailed areas, I used my favorite sanding drill brush—a total game-changer for intricate woodwork!

Step 3: Applying the Wood Dye
To achieve a lighter wood finish while still adding richness, I applied General Finishes Medium Brown Wood Dye, cutting it with their Dye Reducer (1:1 ratio). This technique helps tone the wood without overpowering its natural beauty. You can find General Finishes products here—they ship super fast! → Shop General Finishes

Step 4: Adding Depth with Wax
Once the dye was dry, I applied my favorite Dark Walnut Wax to deepen the tones and enhance the grain. You can find it here:
To help spread the wax smoothly, I used Furniture Tonic, which allows for a more even application and a soft, buttery finish. Grab it here:
After waiting about 30 minutes, I wiped back the excess for a beautifully aged look.
Step 5: Wet Sanding for a Luxe Feel
I lightly wet-sanded the surface in various areas for contrast with my favorite wet sanding sponges to create a soft, silky feel. This step also helps blend the finish seamlessly.
Step 6: Adding Subtle Glaze for Dimension
To create depth and a timeworn effect, I applied Paint Couture Raven Black Glaze in selective areas. This added just the right amount of character! Find it here:

Step 7: Repairs, Details & Finishing Touches
During the process, I had to repair one of the wooden drawer glides—an easy fix that ensures smooth function for years to come. Then, I lined the drawers and swapped out the old knobs for new antique brass ones, which complement the warm, moody finish. You can find all my favorite hardware and liner choices here:

The Final Look
This cherry dresser went from dated and dull to rich, sophisticated, and full of character. The combination of dye, wax, and glaze created a layered, aged effect that feels both classic and bold. I love how the antique brass knobs complete the look!

What do you think of this transformation? Let me know in the comments!
Would you try this look on one of your pieces? Let me know below!


