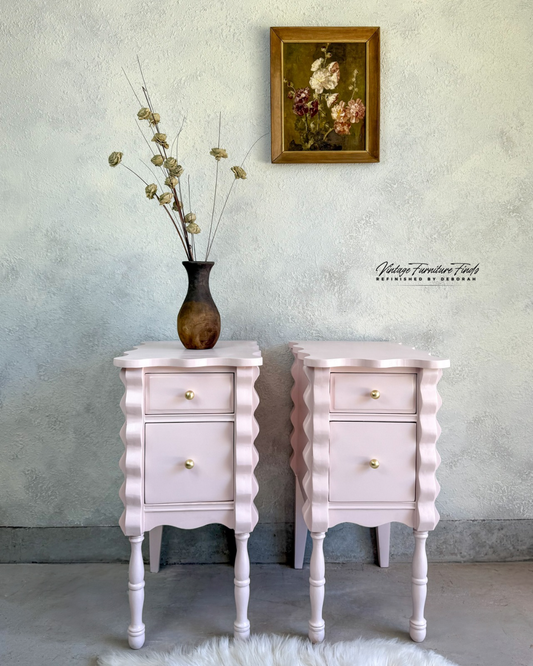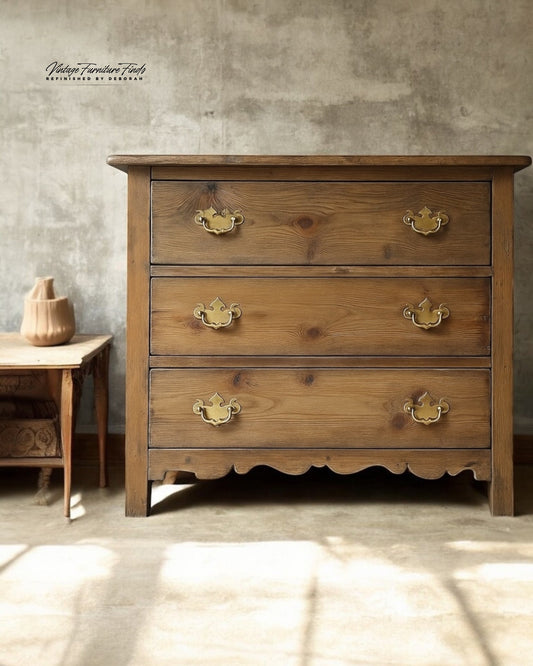
Transforming furniture is my passion, and this recent project was no exception. I took a simple table and gave it new life using some creative techniques and materials. Here’s a step-by-step guide to how I did it, including links to the tools and products I used so you can try it too!

Step 1: Prepping the Table
The first step in any refinishing project is prepping the surface. Here’s how I did it:
• Sanding: I started with 80-grit sandpaper to remove the old finish and graduated to 180-grit for a smoother surface.
• Legs Detail Work: To tackle the legs, I used my trusty nylon drill brush. It made quick work of removing the finish in all those tricky grooves.

Step 2: Staining the Wood
I stained the table using this wood dye. It’s my go-to for achieving deep, rich tones. 
Step 3: Adding Character with Roofing Strips
To add a touch of uniqueness to the table, I incorporated wood roofing strips. Here’s how:
• I sanded the strips for a smooth finish.
• Using my brad nailer, I attached them to the table. These strips are exclusively sold online, and you can find them here.

Step 4: Toning the Wood
To give the table a cohesive and refined look, I created a custom toner mix.
How to Mix Your Toner
1. Base Ratio: Start with a 4:1 ratio of water-based topcoat to paint. This keeps the toner translucent for a layered look.
• Example: For 1 oz of topcoat, add 0.25 oz of paint.
2. Mix: I used Wise Owl One Hour Enamel paint in Weathered Bronze and Polyvine lacquer topcoat. Combine the topcoat and paint gradually, stirring thoroughly until smooth. 
Step 5: Sealing the Table
Once the toner dried, I sealed the table with another coat of clear lacquer. This step ensures durability and adds a subtle sheen.

Step 6: Wax Finish
To enhance the wood’s natural beauty, I applied a dark walnut wax:
1. Apply the wax generously.
2. Let it sit for 10 minutes.
3. Wipe off the excess for a smooth, polished finish.
I used this natural furniture wax and my favorite 1.5” round wax brush for application.

Step 7: Topcoat Application
For a flawless final finish, I used my favorite topcoat brush in size 14 or 16. The quality of this brush ensures a smooth, streak-free application every time.
Final Thoughts
This project was a perfect blend of creativity and craftsmanship. Adding the roofing strips brought character, while the custom toner gave the table a rich, cohesive finish. Whether you’re new to refinishing or an experienced DIYer, these steps and products can help you achieve stunning results.

Ready to give your furniture a fresh look? Let me know if you try this out—I’d love to see your projects!


