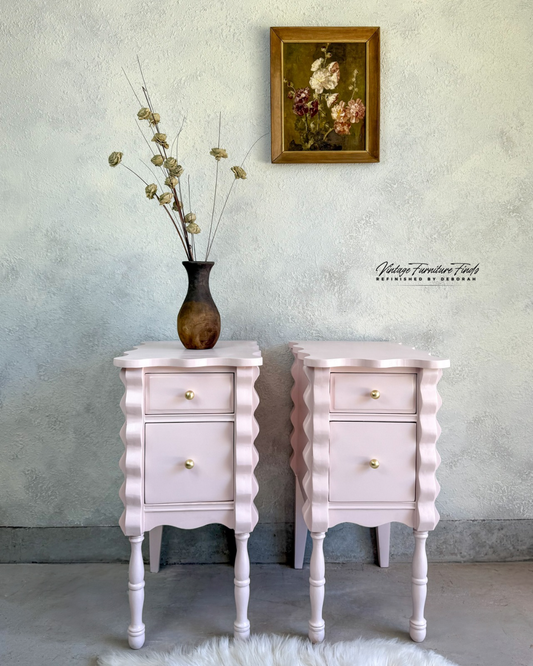
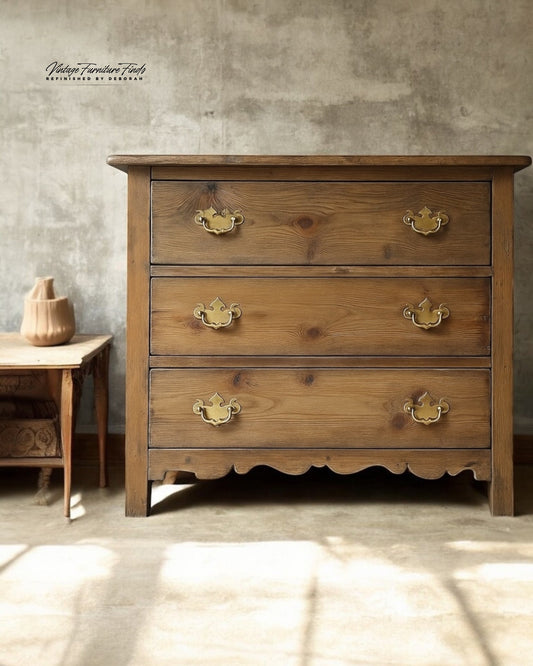
There’s something timeless and grounding about the deep, dimensional character of a raised grain dark oak finish. This look has quickly become my top seller—and for good reason. The rich color, the natural texture, and the perfect blend of rustic and refined make it a go-to for vintage furniture lovers and modern design enthusiasts alike.

Here’s exactly how I create this finish—from start to stunning:
⸻
1. Start with a Deep Clean
Before anything else, you’ve got to start with clean wood. I use Krud Kutter to cut through years of wax, oil, and grime. This step is essential for giving your stain and finish the best chance to absorb evenly. Don’t skip it—even if the piece looks clean.

⸻
2. Strip or Sand Off the Old Finish
If you’re working with solid oak (like I was here), I recommend sanding rather than stripping. It gives you a fresh surface to work with and helps highlight that gorgeous grain.
Pro tip: Use a medium grit (around 120) and work up to a finer grit (like 180–220). Always sand in the direction of the grain.

⸻
3. Raise the Grain with a Wire Brush
This is the magic step that sets this finish apart.
Using a wire brush (or soda blaster if you prefer), brush with the grain. What you’re doing here is removing the softer wood fibers between the oak’s harder grain lines. This gives you that tactile, dimensional texture that screams “high-end artisan.”
Don’t rush this—go over the entire piece evenly and then vacuum away the dust thoroughly.


⸻
4. Stain with General Finishes Dye Stain
Now that your texture is raised, let’s enhance that natural grain.
Apply General Finishes Dye Stain in Medium Brown liberally and wipe it back. This type of stain penetrates deeply into the wood, giving you rich, even color without hiding the grain you just brought out.
Let it dry completely before moving on.

⸻
5. Add Depth with a Paint Wash
Once your stain is dry, mix up a paint wash to deepen the tone and add complexity.
I use Fusion Mineral Paint in Cast Iron, mixed 3:1 with water (3 parts water, 1 part paint). This creates a semi-transparent layer that settles into the grain and brings out that smoky, moody look.

Apply the wash, let it sit for just a minute, and then lightly wipe it back with a lint-free cloth. You want it to settle into the grain and low areas without covering everything.

Save 10% on Fusion paints and products here with my link and code:
Use code: vintagefurniturefindsfmp

⸻
6. Seal with a Satin Topcoat
Once the wash is dry, seal everything in with Polyvine Wax Finish Varnish in Satin.
This topcoat gives you that hand-rubbed wax look, but with the durability of a varnish. It’s water-based, low sheen, and absolutely beautiful.
Apply with my favorite Brush Keeper size 16 for a smooth, even coat.

⸻
7. Finish with Dark Wax
To add even more depth and antique character, I apply dark walnut wax once the topcoat is dry.
Rub it on with a 1” round wax brush, let it sit for about 10 minutes, and then buff it off. This creates a subtle aged effect and a soft glow.

⸻
8. Maintenance Tips
To keep your finish looking its best:
• Dust with a damp cloth only—no harsh cleaners!
• Every 3–6 months, revive and protect your piece with my favorite furniture tonic. It nourishes the finish, seals in moisture, and keeps that luxurious feel intact.
Drawer hardware, liners, and miscellaneous supplies can be found here: https://geni.us/2uXKkpX

⸻
I styled this piece alongside a complementary design to create a refined his & hers set, which sold almost instantly. 
This raised grain dark oak finish isn’t just a technique—it’s an experience. It brings old oak pieces back to life with a richness that feels both rustic and refined. Try it out, and let me know if you fall in love with the process like I did!


2 comments
Would this work on a mahogany dresser as well?
Hi Deborah, thank you so much for all your blogs! They help me so much for my small refinishing business!! I have a question, I was doing your raised grain method and I was wondering if after raising the grain with the wire brush I should do a light sanding before applying the dye wood. Thank you so much!! 🙏🏾