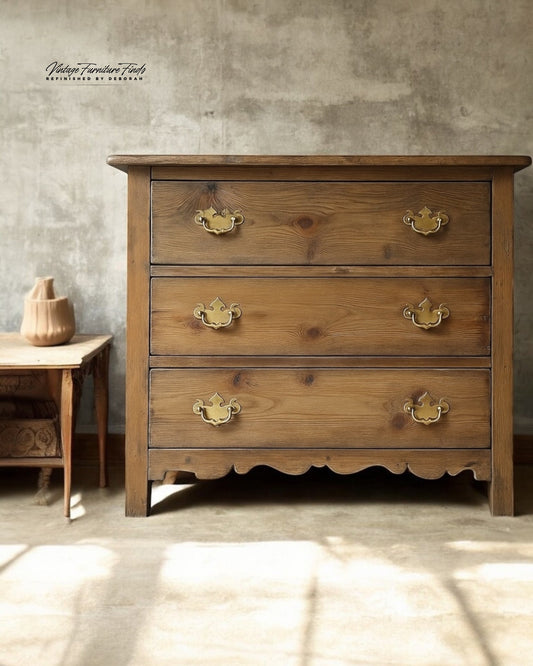
There’s something special about taking a piece of furniture back to its roots uncovering the beauty that’s been hidden under layers of paint and finish and giving it a new life with an old-world feel. This French Provincial dining table had great bones, but it was drowning in an outdated, factory-finished look. I knew I had to strip it back, accentuate its character, and give it a timeworn, antique-inspired finish. Here’s how I did it!
Step 1: Stripping the Old Finish
The first step in any great furniture makeover is removing the existing finish. I used my favorite stripper to break down the paint and varnish, making it easier to scrape away the layers. If you’re tackling a similar project, you can grab the same stripper I used here and enjoy 10% off with my discount code: VINTAGEFINDS10.

Step 2: Sanding for a Smooth Surface
Once the old finish was removed, I sanded the entire table, gradually increasing the grit until I stopped at 180 grit. This gave me the perfect surface smooth enough for a professional finish but still textured enough to absorb the next steps beautifully.

To add some extra character, I used a wire drill brush to raise the grain in various spots, mimicking natural wear and age. This small detail makes a huge difference when aiming for an authentic, timeworn look. You can find the same wire brush tool I used here.

Step 3: Paint Wash for Depth and Dimension
To create a subtle, aged wood effect, I mixed Fusion Mineral Paint in the color Wood Wick with water at a 4:1 ratio (four parts water, one part paint). This technique lets the paint settle into the wood grain while keeping the overall look soft and natural.
If you want to try this technique, you can get 10% off on the Fusion website with my discount code: vintagefurniturefindsfmp
Shop Fusion Mineral Paint here

Step 4: Protecting with a Matte Topcoat
Once the paint wash dried, I sealed the table with Polyvine Wax Finish Varnish in a matte finish. This product gives a durable, natural-looking sheen that keeps the finish looking authentic while adding protection.
You can find my favorite Polyvine Wax Finish Varnish topcoat here.

Step 5: Deepening the Patina with Wax
To enhance the tables aged appearance, I applied Wise Owl Natural Furniture Wax in the color Black Walnut. This added warmth and richness to the finish. I like to mix my wax with a little Wise Owl Furniture Tonic to help it spread easier and blend seamlessly into the wood.
Both products are available here:

Step 6: Adding Charred Accents with Glaze
For the final touch, I used Paint Couture Glaze in Raven Black to create a slightly charred effect in various spots, adding to the aged, antique aesthetic. This glaze settles into the grooves and details beautifully, making them pop with just the right amount of contrast.
You can find this glaze under the Paint Couture category here.

Final Thoughts: A Table with History and Heart
This French Provincial table started as an outdated piece, but by stripping it back to its roots, raising the grain, layering washes, and adding depth with wax and glaze, it now looks like a well-loved heirloom with a story to tell.
If you’re tackling a furniture makeover of your own, don’t be afraid to experiment with layering techniques it’s all about finding that perfect balance between refinement and timeworn beauty. And if you try any of the products I used, be sure to use my discount codes to save a little along the way!
What do you think of this transformation? Let me know in the comments!


