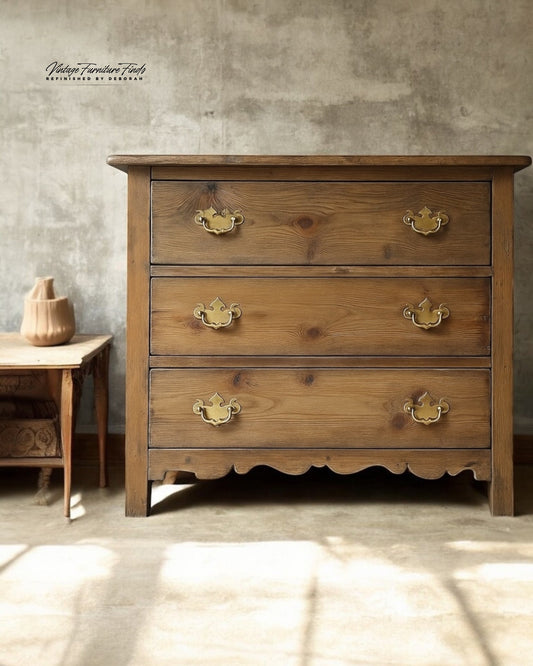
Refinishing furniture can be a rewarding process, but if you’re just starting out, choosing the right topcoat can make or break your project. In this installment of The Art of Refinishing Furniture, I’m diving into beginner-friendly topcoats, sharing the challenges I faced when I first started, and the game-changing product that turned things around for me.
The Struggles with Polyurethane and Polycrylic
When I first ventured into refinishing, I put in countless hours stripping, sanding, and staining my pieces, only to end up frustrated with my topcoat results. Polyurethane and polycrylic, while popular choices, often left me with streaks—especially on dark finishes. No matter how carefully I applied them, brush marks and uneven coverage seemed inevitable.
The worst part? After investing so much time and effort, I’d have to sand it all down and start over because the finish looked terrible. If you’ve been there, you know how disheartening it can be. But thankfully, I found a solution that changed everything.
The Game Changer: Polyvine Wax Finish Varnish
Everything shifted when I discovered Polyvine Wax Finish Varnish. This product, made in the UK, isn’t as widely available in the U.S., but it’s absolutely worth tracking down. It’s become my go-to topcoat for achieving a flawless, streak-free finish with minimal effort.

Why I Love It:
• Easy to Apply: Unlike other finishes, Polyvine doesn’t require extensive skill to get a smooth, professional look.
• Matte and Satin Options: I love the versatility it offers depending on the look I want to achieve.
• A Little Goes a Long Way: You don’t need much product to get great results, making it a cost-effective choice in the long run.
• Reliable Performance: No more streaks or brush marks, even on dark finishes.
You can find my favorite Polyvine Wax Finish Varnish topcoat here.
Application Tips for the Best Results
To get the most out of this topcoat, here are a few key steps I follow:
1. Dilute the First Coat: I always add 10% distilled water to my first coat to help it spread evenly.
2. Never Shake – Always Stir: Shaking introduces bubbles that can ruin the finish. Instead, gently stir the product before use.
3. Use the Right Brush: The brush you use makes a world of difference. I only apply it with this size 14 or 16 brush, which you can find here.
4. Don’t Overwork It: Apply in smooth, even strokes and resist the urge to go back over areas too much—it self-levels beautifully.
5. Build Up in Layers: I typically apply 2-3 coats per piece, allowing each layer to dry thoroughly before the next.

Other Polyvine Products Worth Trying
In addition to the Wax Finish Varnish, Polyvine also offers:
• Lacquer: Ideal for high-traffic pieces that need extra durability.
• Heavy Duty Wood Varnish: Great for surfaces that require more protection from wear and tear.
Both options have worked wonders for me on different types of projects, providing long-lasting protection without compromising aesthetics.
If you’ve been struggling with streaks and uneven finishes, I highly recommend giving Polyvine Wax Finish Varnish a try. It transformed my approach to refinishing and saved me from countless frustrating do-overs.
Let me know if you’ve tried it or if you have any go-to topcoat tips of your own!
Happy refinishing!
Want more refinishing tips? Follow my journey on instagram.


