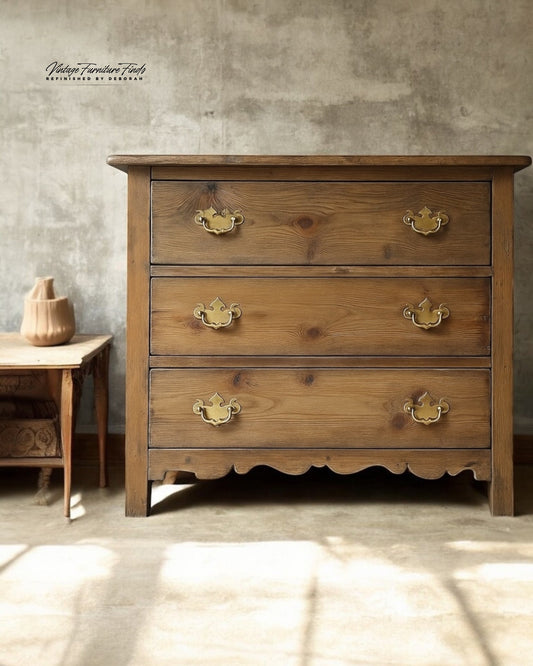
Avoid These Common Staining Mistakes for a Flawless Finish
Staining furniture is one of the most rewarding steps in refinishing it enhances the wood’s natural beauty and brings out its character. But even seasoned DIYers can run into trouble if they make common staining mistakes. Let’s break down the most frequent errors, how to avoid them, and tips for getting a professional-quality result every time.

1. Skipping the Pre-Stain Conditioner
Softwoods like pine, birch, and even some hardwoods can absorb stain unevenly, creating blotches and streaks. This happens because different areas of the wood absorb the stain at different rates.
How to Avoid This Mistake:
Use a pre-stain wood conditioner before applying your stain. It evens out the wood’s absorption, allowing for a smoother, more uniform finish. For oil-based stains, use an oil-based conditioner, and for water-based stains, opt for a water-based conditioner.

2. Overloading the Stain
Applying too much stain at once or failing to wipe off the excess can result in sticky, uneven surfaces. This problem applies to both oil-based and water-based stains:
Oil-Based Stains: Leaving too much on the surface creates a gummy layer that won’t fully dry, even after several days.
Water-Based Stains: These dry quickly, so excess stain left on the surface can result in splotchy or streaky areas.
How to Avoid This Mistake:
After applying the stain, wait the recommended time (usually 5-15 minutes) and then wipe off the excess with a lint-free cloth. It’s better to build up the color with multiple thin coats than to try achieving your desired shade all at once.

3. Not Sanding Properly
Sanding is essential to creating a smooth, even surface that absorbs stain beautifully. Skipping this step or using the wrong grit can ruin your results:
Not Sanding Enough: Rough spots or scratches left on the wood absorb stain differently, leading to uneven coloring.
Over-Sanding: Sanding too finely can make the wood surface too soft and smooth, preventing the stain from penetrating your wood properly.
How to Sand the Right Way:
Start with coarse sandpaper (80 or 100 grit) to remove imperfections, then work your way up to finer grits. For staining, stop at 180 grit. This grit strikes the perfect balance it’s smooth enough to create an even surface but still porous enough to absorb the stain effectively.
Pro Tips for Applying and Wiping Stain
1. Use a Staining Pad for Application:
A staining pad (often made of microfiber or foam) is excellent for applying stain. It provides a smooth, even coat and helps prevent streaks or brush marks. I linked my favorite below.
2. Choose the Right Cloth for Wiping Back Stain:
Use a lint-free cloth, such as an old cotton T-shirt or shop rags, to wipe off the excess stain. Avoid paper towels or anything that might leave behind fibers or streaks.
My favorite staining items are linked here
Final Thoughts
Getting a beautiful, professional-looking stained finish requires patience and attention to detail. By using a pre-stain conditioner, applying thin layers of stain, sanding correctly, and using the right tools for the job, you can avoid common mistakes and elevate your refinishing projects.
Remember, staining is as much an art as it is a science. Take your time, test your stain on a scrap piece of wood first, and enjoy the process!
Got questions about your refinishing project? Drop them in the comments I’d love to help!


1 comment
Thank you so much for staining tips. I’m at loggerheads with what to do with my chopping block. Stain all or paint and just stain top around the marble slab? Can I attach photos?