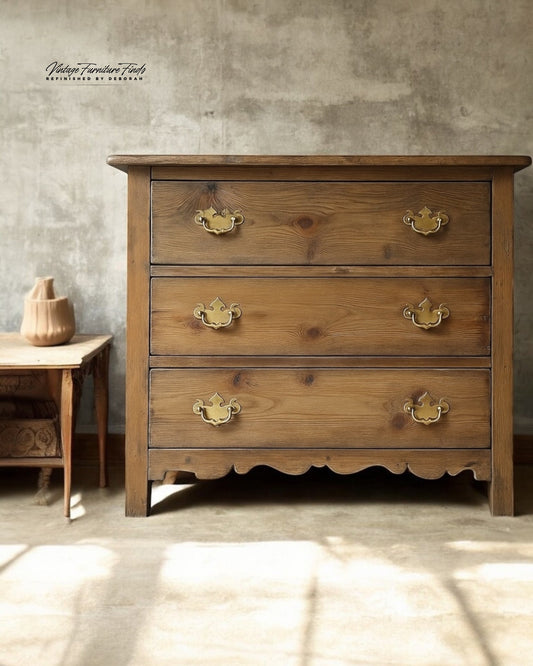
Smart Stripping: Testing Wood Furniture Finishes with Solvents for Easier Removal
When refinishing or restoring wood furniture, one of the first steps is identifying the type of finish currently on the surface. Knowing the finish type allows you to choose the correct products and methods for removal or refinishing. Luckily, determining the finish doesn’t require fancy tools—just some basic supplies and a little patience. Here’s a link to my favorite supplies, including the micro sander paper I swear by. I’ve found it outperforms other brands for detailed work.
In this guide, we’ll walk you through simple methods to test a finish, so you can proceed with confidence.
Why Is Identifying the Finish Important?
Different finishes require different solvents, removal methods, and refinishing approaches. Using the wrong product or technique could damage the piece or make your work unnecessarily difficult. By testing the finish first, you’ll save time and ensure better results.
Step-by-Step Guide to Testing a Wood Finish
Step 1: Inspect the Surface
Start with a visual and tactile inspection of the furniture:
• Lacquer: Smooth and glossy, common in mid-century or factory-made furniture.

• Shellac: Slightly amber-toned, often used on antiques.

• Varnish or Polyurethane: Durable, plastic-like, with a thicker coating.

• Water-Based Finishes: Clear with minimal yellowing over time.

If you’re uncertain, move on to solvent testing.
Step 2: Solvent Testing
Gather common solvents like lacquer thinner, denatured alcohol, mineral spirits, and acetone. Test in a small, inconspicuous area, such as the back of a leg or underside of the piece.
1. Test for Lacquer with Lacquer Thinner
• Apply a small amount of lacquer thinner with a cotton swab or cloth.
• Reaction: If the finish softens or dissolves quickly, it’s likely lacquer.
• No Reaction: Move to the next solvent.
2. Test for Shellac with Denatured Alcohol
• Dab denatured alcohol onto the surface.
• Reaction: If the finish softens, becomes tacky, or dissolves, it’s shellac.
• No Reaction: Proceed to the next test.
3. Test for Varnish or Oil-Based Finishes with Mineral Spirits
• Rub mineral spirits on the surface.
• Reaction: If the finish softens slightly or leaves a residue, it may be oil-based varnish.
• No Reaction: Try acetone next.
4. Test for Water-Based Finishes with Acetone
• Apply acetone to the surface.
• Reaction: If the finish softens, it could be water-based or acrylic.
• No Reaction: The finish might be polyurethane, epoxy, or something else.
Step 3: The Heat Test (Optional)
For stubborn finishes, try applying low heat using a hair dryer or heat gun:
• Gently warm a small section of the finish.
• Softens or Bubbles: Indicates lacquer, shellac, or varnish.
• Remains Hard: Likely polyurethane, epoxy, or a durable synthetic finish.
Note: Use caution with heat to avoid scorching the wood.
Step 4: Scraping Test
If solvents don’t yield clear results, lightly scrape a small section of the finish with a utility knife or scraper:
• Flakes Easily: Likely shellac or lacquer.
• Thick and Rubber-Like: Likely polyurethane or epoxy.
Tips for Successful Testing
• Always test in an inconspicuous area to avoid visible damage.
• Use protective gloves and work in a well-ventilated area to avoid inhaling fumes.
• If the furniture has multiple layers of finish, you may encounter more than one type of reaction.
Common Finishes and Their Characteristics
Finish Appearance Testing Reaction
Lacquer Smooth, glossy, durable Dissolves quickly with lacquer thinner
Shellac Amber, natural sheen Dissolves with denatured alcohol
Oil-Based Varnish Thick, yellowing over time Softens slightly with mineral spirits
Water-Based Clear, minimal yellowing Reacts slightly to acetone
Polyurethane Plastic-like, hard coating Resists most solvents

What’s Next?
Once you’ve identified the finish, you can choose the appropriate removal method:
• Lacquer or Shellac: Use solvents to dissolve the finish for easy stripping.
• Oil-Based or Polyurethane: A chemical stripper or sanding may be necessary.
• Water-Based: Test compatibility with strippers and proceed carefully.
Properly identifying the finish ensures you’ll achieve a smooth, professional result in your refinishing project. By following these steps, you’ll feel confident tackling any piece of furniture!
Have more refinishing questions? Share your projects or concerns in the comments below—we’d love to help!


