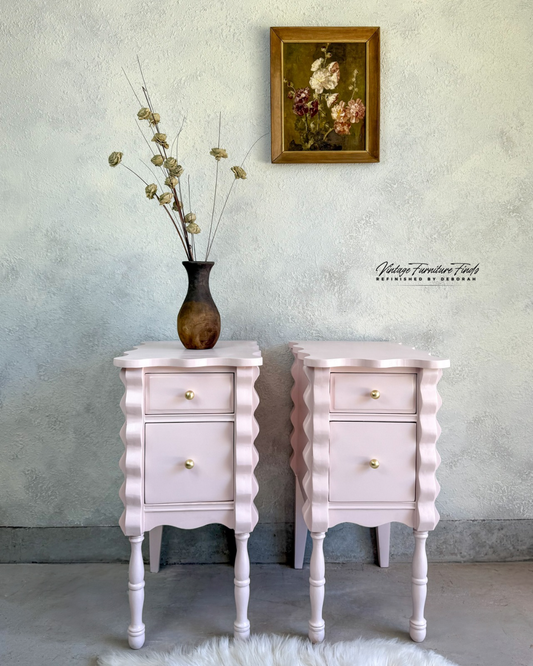
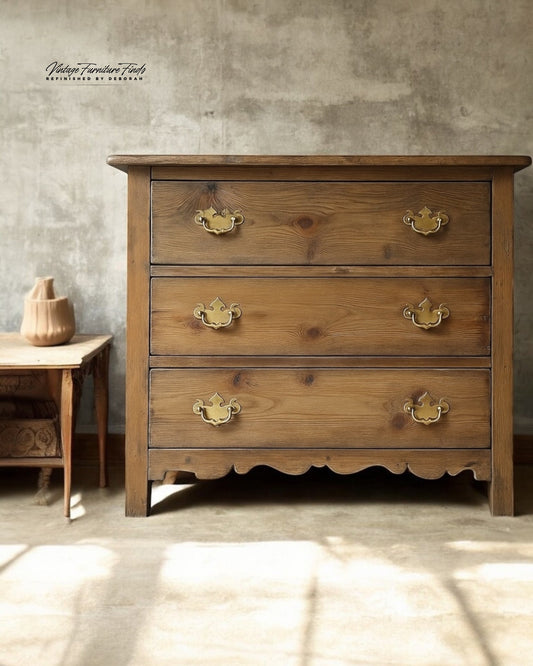
I love when a piece surprises me—and this little bachelor chest totally delivered. It was solid wood (win!), had beautiful lines, and was the perfect size for my small entryway. But the old finish? Tired and dated. I knew I wanted to give it a warm, aged depth without hiding the grain. This is exactly how I brought it back to life using my favorite products—each one chosen for a reason.
Let’s break it down:
⸻
Step 1: Clean Like You Mean It
Product: Kris Kutter Cleaner
Before I touch sandpaper or stain, I always start with a deep clean. Kris Kutter is my go-to because it cuts through years of grime, wax buildup, and furniture polish without leaving a filmy residue behind. It gives me a clean slate—and helps avoid sanding dirt into the wood (which is basically like rubbing sand into your eyes… no thanks).

⸻
Step 2: Sand It Smooth
Why: This piece was solid wood, so I went for a full strip-down. I sanded off the old finish, starting with a coarse grit and graduating to finer ones (usually 80 > 120 > 180). This smooths the surface and opens up the grain for the next steps.
Sanding is also key if you plan to use a dye—it soaks in beautifully when the wood is raw and even.

⸻
Step 3: Seal Coat – the Secret Weapon
Product: Zinsser SealCoat
This is a step most people skip, but it’s a game-changer—especially when working with a wood dye. I dilute SealCoat with denatured alcohol (1 part SealCoat to 2–3 parts alcohol), then wipe on a thin, even layer with a lint-free cloth. It dries quickly (about 30–45 minutes), and then I lightly scuff with 220-grit sandpaper.
Why I use it: It helps the dye absorb more evenly, preventing blotchiness and locking in some control while still letting the grain show off. Think of it as insurance for your finish.


⸻
Step 4: Add Rich Color with Wood Dye
Product: Polyvine Antique Pine Wood Dye
This stuff is liquid gold. Unlike traditional stains, this dye penetrates deep into the wood and brings out the natural grain instead of covering it. I love the Antique Pine shade—it gives a warm, vintage tone that feels timeless.
Note: You won’t find this at big box stores. It’s one of those hidden gems that’s worth hunting down.

⸻
Step 5: Protect with Polyvine Topcoat
Product: Polyvine Wax Finish Varnish
Once the dye was dry, I sealed everything in with Polyvine’s wax finish varnish. It gives a soft, velvety look without the plastic-y shine some topcoats have. Plus, it’s tough enough to handle everyday use.
Why I love it: It’s like a topcoat and wax had a baby—durable but still has that hand-rubbed feel.

⸻
Step 6: Add Depth with Black Walnut Wax
Product: Black Walnut Wax
This is where the magic happens. Once the topcoat dried, I rubbed in a layer of black walnut wax. It settled into the details and gave the piece that aged, soulful look I adore. It’s my favorite way to add depth and complexity to a finish.

⸻
Step 7: Dress It Up
Product: Antique Brass Drawer Knobs
New hardware can completely change a piece’s personality. These antique brass knobs are elegant without being too fancy—and they pulled everything together beautifully.
⸻
Final Thoughts:
This bachelor chest went from “meh” to museum-worthy with just a little time and the right products. Now it sits proudly in my entryway, greeting guests with that perfect blend of vintage charm and warm wood tones. Don’t overlook those smaller pieces—they can make a huge impact in your space.

⸻
Want help transforming your own piece? Join my refinishing advice subscription on instagram —send me your “before” and inspo pics and I’ll walk you through your own custom plan.


