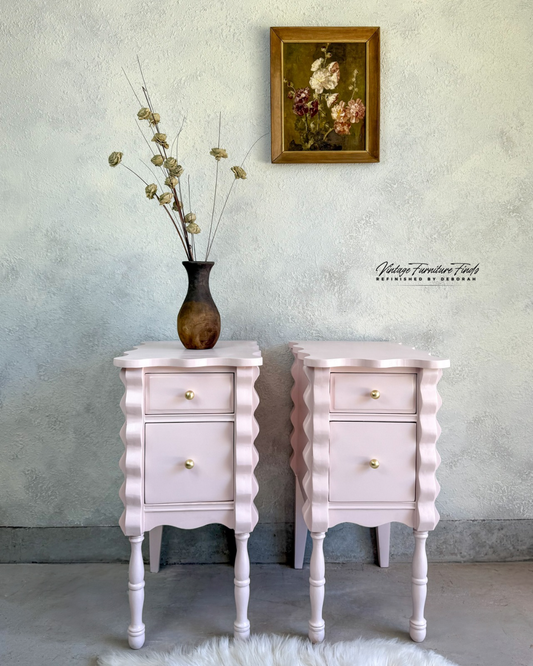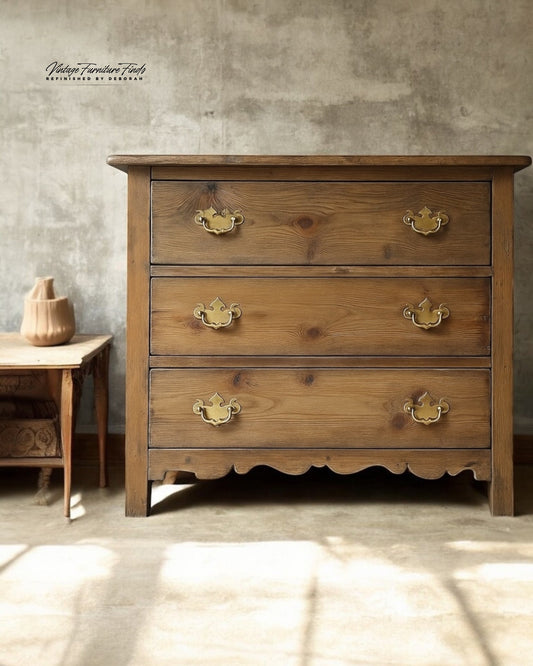
There’s just something magical about the texture and depth of a raised grain dark oak finish — it feels organic, historic, and effortlessly rich. Today, I’m sharing exactly how I transformed this solid oak Basset tall dresser into a best-selling piece using my signature finish. Whether you’re refinishing a family heirloom or flipping vintage finds, this step-by-step guide will walk you through the full process — and why each step matters.
Ready? Let’s dive in!
⸻
Step 1: Clean the Wood
Product Used: Krud Kutter
Before doing anything else, I always start by thoroughly cleaning the piece. Dirt, oils, and old polishes can prevent new finishes from adhering properly. Krud Kutter is my go-to because it cuts through the grime without leaving residue behind. Think of it like prepping your skin before applying makeup — a clean surface is non-negotiable for a flawless result.
⸻
Step 2: Sand or Strip the Previous Finish
Since this dresser is made from solid oak, I chose to sand off the old finish rather than strip it chemically. Sanding gives you better control, preserves the natural wood texture, and ensures that the stain and paint wash will absorb evenly.

⸻
Step 3: Raise the Oak Grain
Tool Used: Wire Brush
This is the magic step that makes the final finish so unique. I used a wire brush, brushing in the direction of the oak grain to “raise” the wood fibers.
Why this matters: Raising the grain enhances the natural texture of oak, creating a beautifully aged, tactile surface that grabs stain and paint differently than a smooth sanded surface. You get rich highs and lows in the final look — and that’s what gives the piece so much character.
You can also use a soda blaster for this step if you want to speed up the process.
After wire brushing, I vacuumed all the dust to ensure a perfectly clean surface before moving forward.

⸻
Step 4: Add Beaded Moulding (Optional Accent Detail)
Product Used: 3/8” Half Round Pearl Beading Moulding
To elevate the look, I added beaded moulding to each drawer front. This simple addition gives an old dresser a more custom, boutique feel and highlights the drawer lines beautifully under the darker finish.
⸻
Step 5: Stain the Wood
Product Used: General Finishes Dye Stain in Medium Brown
After prepping the wood, I applied a coat of General Finishes Dye Stain in Medium Brown, wiping it back to accentuate the raised texture.
Dye stains penetrate deeper into wood than traditional stains, meaning they won’t muddy the grain — they enhance it. Let it dry thoroughly before moving on.

⸻
Step 6: Apply a Paint Wash
Product Used: Fusion Mineral Paint in Cast Iron
Once the stain dried, I created a paint wash using a 3:1 water to paint ratio with Fusion Mineral Paint in Cast Iron.
A paint wash settles into the low points of the raised grain, adding gorgeous depth and a soft, moody tone. I lightly wiped it back to control the coverage and let the warm brown tones peek through.
Use my discount code vintagefurniturefindsfmp for 10% off if you want to grab this paint!

⸻
Step 7: Topcoat for Protection
Product Used: Polyvine Wax Finish Varnish in Satin
Once the paint wash dried, I sealed everything with Polyvine Wax Finish Varnish in Satin.
Polyvine is my favorite because it gives a natural-looking sheen, never plasticky, and it’s durable enough for daily use. I always recommend following the instructions carefully for best results.
Favorite brush for topcoats: Brush Keeper Size 16

⸻
Step 8: Wax and Buff
Product Used: Dark Walnut Wax
To deepen the finish even more, I applied dark walnut wax once the varnish dried. After letting it sit for about 10 minutes, I buffed it off with a clean cloth.
Favorite wax brush: 1” Round Premium Brush
The wax adds a velvety feel and beautifully enhances the natural highs and lows created by the raised grain.
⸻
Step 9: Final Touches
To complete the makeover, I swapped out the old hardware for new antique brass knobs, giving the piece a simple but timeless finishing touch.
⸻
Long-Term Care Tip:
I recommend dusting with a damp cloth and using Furniture Tonicevery 3–6 months to revive and protect the finish. Your furniture will thank you!
⸻
Shop the Supplies:
• Wire Brush: linked here
• Pearl Beading Moulding: linked here
• Medium Brown Dye Stain: linked here
• Fusion Mineral Paint in Cast Iron: linked here
• Polyvine Satin Topcoat: linked here
• Brush Keeper Size 16: linked here
• Dark Walnut Wax: linked here
• 1” Wax Brush: linked here
• Furniture Tonic: linked here
• Miscellaneous Supplies: linked here
This raised grain dark oak finish is one of the most rewarding looks you can create—timeless, rugged, and stunningly elegant.
I hope this tutorial inspires you to try it on your next solid wood piece!
Tag me if you give it a try—I’d love to see your creations!


