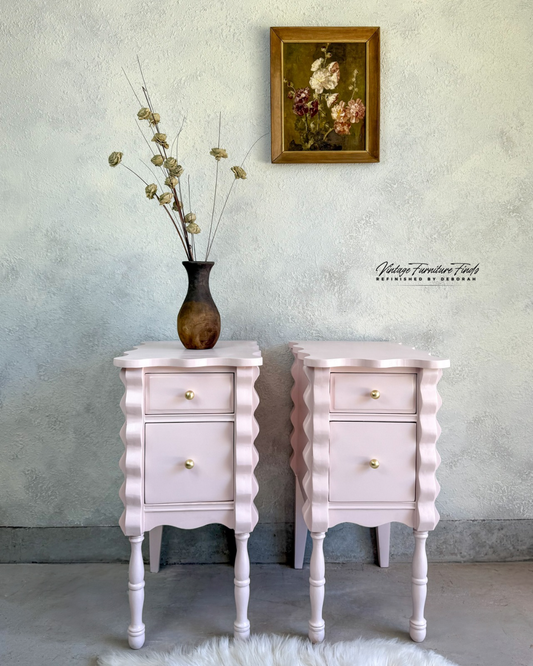
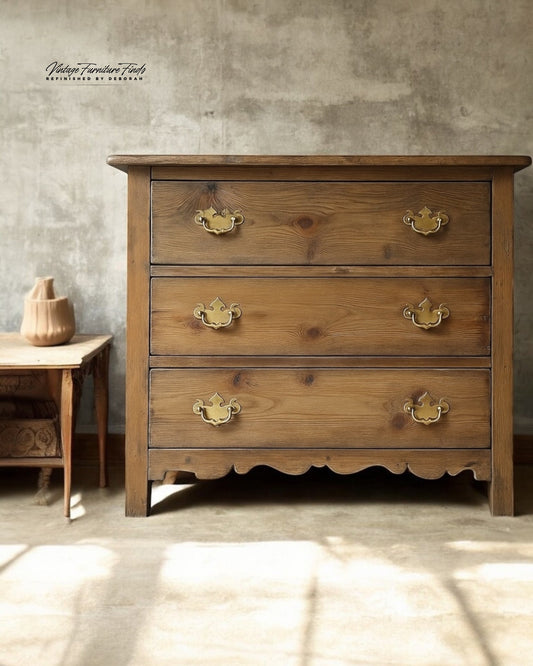
Create a soft, layered finish without blotchiness.
If you’ve ever attempted a paint wash directly on raw wood and ended up with uneven patches or paint that soaked in too much—this one’s for you. Applying a seal coat before your paint wash gives you control, consistency, and that dreamy, worn-in finish we all love.
Here’s your step-by-step guide to sealing wood with Zinsser SealCoat Universal Sanding Sealer and layering on a perfect paint wash.
What You’ll Need:
• Zinsser SealCoat Universal Sanding Sealer
• Natural bristle brush or foam brush
• 320–400 grit sandpaper
• Tack cloth or lint-free rag
• Denatured alcohol (optional for cleanup or thinning)
Step-by-Step: Applying SealCoat
1. Prep Your Piece
• Sand your wood smooth and make sure it’s free from dust, oils, or residue.
• Wipe it down with a tack cloth or a damp lint-free rag.
2. Stir, Don’t Shake
• Gently stir the SealCoat with a paint stick.
• Shaking can introduce bubbles—no thanks.
 3. Apply the SealCoat
• Use long, even strokes with the grain.
• Don’t overwork it—this product self-levels beautifully.
• For a lighter seal (especially before a paint wash), you can thin it 2:1 with denatured alcohol.
4. Let It Dry
• Dries in 30–45 minutes, possibly longer in humid conditions.
5. Light Sanding
• Use 320–400 grit sandpaper to smooth the surface.
• You’re not trying to remove the finish—just knocking down any fuzz.
6. Wipe the Dust
• Use a tack cloth or dry lint-free rag to clean up before moving on.
7. Ready for a Paint Wash
• Now you’ve got a sealed, smooth surface that’s ready for layering color without the risk of blotchiness.
When to Dilute SealCoat (and When Not To)
When You Should Dilute:
(2 parts SealCoat : 1 part denatured alcohol)
• For a lighter seal before a paint wash
• To reduce grain raising on sensitive woods (like birch or maple)
• As a washcoat before glazing or staining
When You Shouldn’t Dilute:
• If you’re using it as a full-strength sanding sealer for adhesion, buildup, or serious blotch control.
How to Apply a Paint Wash Over SealCoat
1. Let the SealCoat Cure
• Wait at least 1 hour.
• Lightly sand with 320–400 grit if needed, then wipe clean.
2. Mix Your Paint Wash
• Combine 1 part paint with 2–3 parts water.I prefer using mineral paint.
• Adjust until you get the transparency you want.
• Mix thoroughly!
3. Always Test First
• Try your mix on the back or underside of the piece.
• The sealed surface changes how the wash behaves—it’ll sit more on top.

4. Apply the Wash
• Use a foam brush, soft chip brush, or cloth.
• Work in sections, brushing with the grain.

5. Wipe or Feather
• Soften the look by wiping back with a clean rag or damp cloth.
• Want more depth? Let it dry, then repeat.
6. Layer or Add Contrast
• Dry between coats, and don’t be afraid to mix it up.
• Try layering a soft white wash first, then go over with gray for a driftwood vibe.
7. Optional: Light Distressing
• Once everything’s dry, lightly distress edges with 220+ grit sandpaper to reveal the wood or first wash layer.

8. Seal It In
• Topcoat with your favorite finish. I personally love:
Polyvine Wax Finish Varnish in Satin
Supplies & Favorite Colors
These are some of my go-to products and colors for dreamy paint washes.
These are affiliate links, so I earn a small commission—thank you for supporting my small business!
Paint Wash Supplies:
My favorite Fusion Mineral Paint wash colors. 👇
Use code: vintagefurniturefindsfmp for 10% off
Top Color Picks:
• Algonquin

• Cast Iron

• Wood Wick

• Cashmere

• Hazelwood

• Coal Black

• Chocolate

Best Brown Paint Wash:

With the right prep, a little patience, and the right tools, you can take any raw wood piece from flat to fabulous. Whether you’re going for a layered beachy vibe or a cozy farmhouse finish, SealCoat plus a paint wash is a combo you’ll want to keep in your refinishing toolkit.
Thanks for being here,
Deborah


1 comment
Hello! Thank you for this info—I was
finding so many mixed opinions on whether or not you could paint wash over dewaxed shellac! Quick question—if I am using sealcoat prior to paint wash on pine to prevent tannin bleed, would I use it full strength or thin it? Thank you!’